

シャープネス評価プラグインの自作 / Creating a Custom Sharpness Evaluation Plugin – Lightroom
Note: At this time, only an explanation of the self-made plugin is provided. The plugin itself is not released or distributed, as the creator is an amateur.
■Motivation
It’s common to have to “select the sharpest photo from a large batch of similar shots.” If you shoot birds, wildlife, or macro subjects, you’ll understand. The basic criterion is whether the subject’s eye is in focus (and whether the intended area is within the depth of field). It might be only a few shots, but when there are dozens, comparing them at 100% to pick the best one is exhausting. Personally, it’s most frustrating when all the shots are decently sharp. I’ve long wanted a function that would “quantitatively compare sharpness in a specified area like the eye and rank the images.” Some might say that if it looks good at a glance, you should just pick one. However, for someone like me who wants to delete unnecessary photos, I can’t help wanting to know whether it is truly the best.
Perhaps because this is a niche demand, there is no sign of such a feature being added to Lightroom, nor have I come across a plugin that does this. The turning point came with the arrival of ChatGPT. I thought that maybe I could make the plugin myself.
All development and testing were done on the latest version of Lightroom Classic as of June 2025, on a Mac.
■Developing a Lightroom Plugin
The custom Lightroom plugin consists of the following files placed directly in a folder with the `.lrplugin` extension. The `.lua` file is a script executed by Lightroom. Because this project includes a process that passes data from Lightroom to Python, a Python script is also included. For fellow beginners: `.lua` and `.py` files are just text files with the appropriate code saved under those extensions. On a Mac, creating a folder and naming it with a `.lrplugin` suffix will automatically convert it to a “package.”
SharpnessRank.lrplugin
\—- info.lua
\—- xxxxxx.lua
\—- yyyyyy.py
You can place this `.lrplugin` folder anywhere, such as your Desktop or the default plugin folder, and enable it via Lightroom’s Plugin Manager.
■Concept Behind the SharpnessRank Plugin
- Photo Selection
Select multiple photos you want to compare in Lightroom’s Library module. For the first photo only, create a virtual copy so there are two versions. The first image, either the original or the virtual copy, will be used to define the area for sharpness comparison. Crop it in advance using the crop tool, typically around the face or another focal point. The second image serves as the alignment reference for the others, so do not crop it. Cropping is not necessary for the third image and beyond. - Generating Preview Images
From each selected photo, retrieve the high-resolution JPEG previews generated within Lightroom. Ensure 1:1 previews are built beforehand. The evaluation is performed without touching the original RAW files. - Alignment
Using the second image as a reference, align the subsequent images via template matching based on Normalized Cross-Correlation (NCC). This corrects for framing misalignments and enables cropping from the same region across images. - Sharpness Comparison
Automatically crop a portion of the preview image using the first image as reference, then quantify sharpness through image processing.
The evaluation uses spatial frequency analysis based on the Laplacian transform. Specifically, it measures the local edge strength (gradient changes) in the image and quantifies it numerically. The sharper the edges, the higher the score; conversely, blurry or motion-blurred images receive lower scores. - Score Aggregation and Ranking
Compare the sharpness scores of all images and generate a ranking in descending order. Display the filenames and corresponding scores in list format. - Generating Visual Comparison Grid
Automatically generate a grid image that places the cropped patches side-by-side. This visual output serves as a check to ensure cropping was successful. - Result Notification and Logging
Display the ranking results in a popup dialog sorted by score. At the same time, save the results as a text file in a folder named “SharpnessRank” on the desktop. - Automatic Rating Assignment in Lightroom
Assign star ratings from 1 to 5 automatically to the top 5 ranked images in Lightroom.
I originally envisioned being able to select the comparison area directly in Lightroom, but after trial and error, that proved unworkable. As a workaround, some manual preparation is now required.
The cropping position and size are determined relatively based on the first and second images (the second being a virtual copy). From the third image onward, any misalignment caused by hand movement is taken into account. If the subject hasn’t moved much relative to the background (like a large tree), the exact same spot is cropped. However, if the subject moves significantly, for example by turning its face, during the sequence, a sufficiently large cropping area must be designated; otherwise, it will not be possible to compare the images. However, since a large area includes more regions irrelevant to the evaluation, the sharpness comparison becomes less accurate than when using a smaller, more focused region.
■Verification Results
For testing, I used photos of a Douglas Squirrel I found in Yosemite, eating what looked like an acorn.
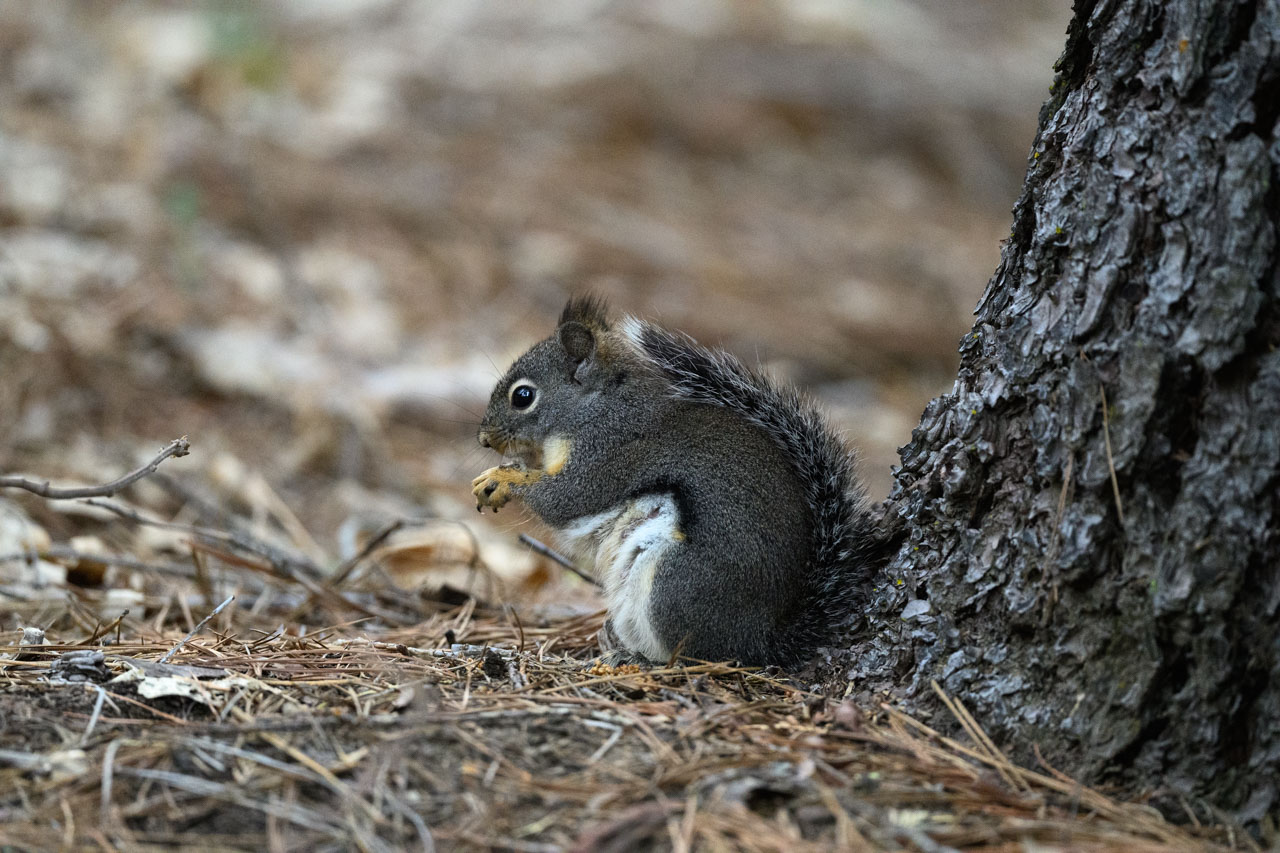
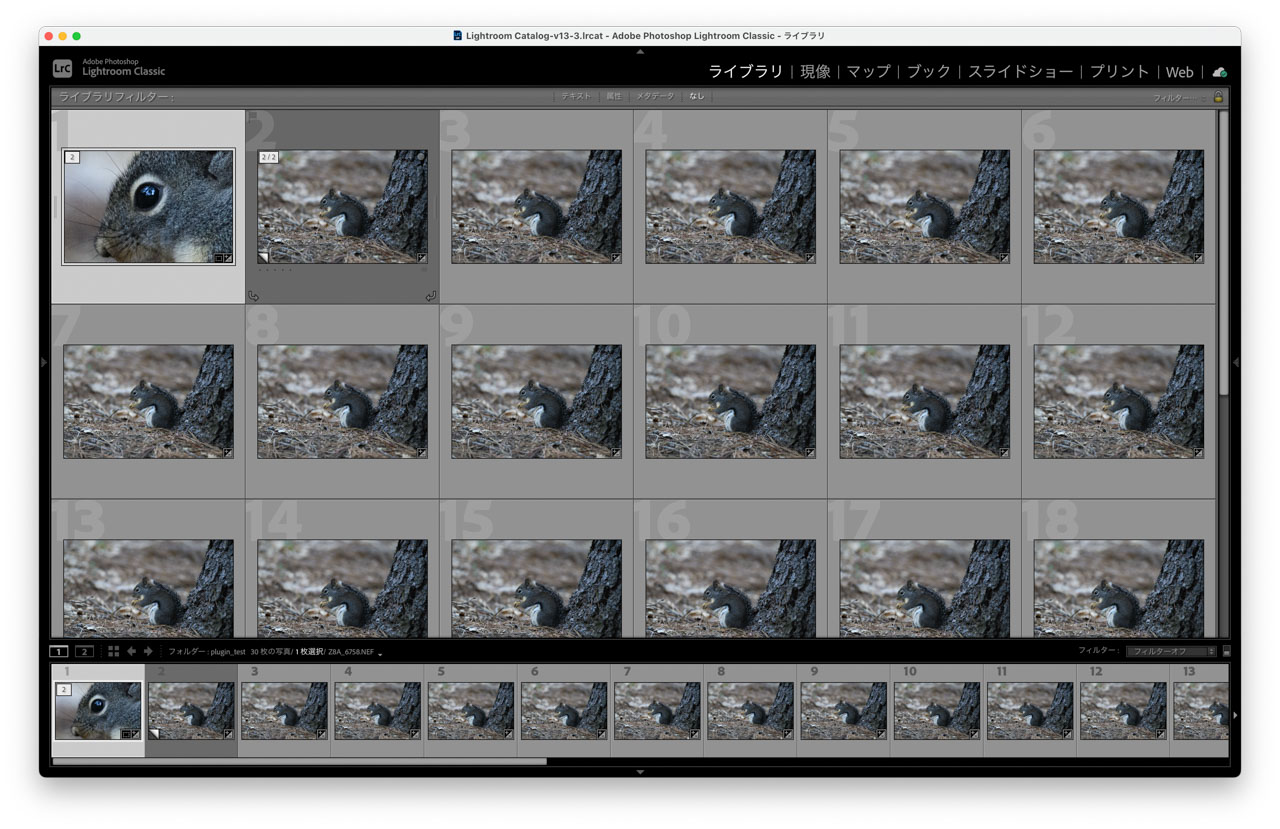
A total of 29 images were compared simultaneously. The first image serves as the cropping reference (and is also evaluated), and the second is a virtual copy used to generate the overall preview. After selecting the images to compare, run the plugin from Library > Plug-in Extras.
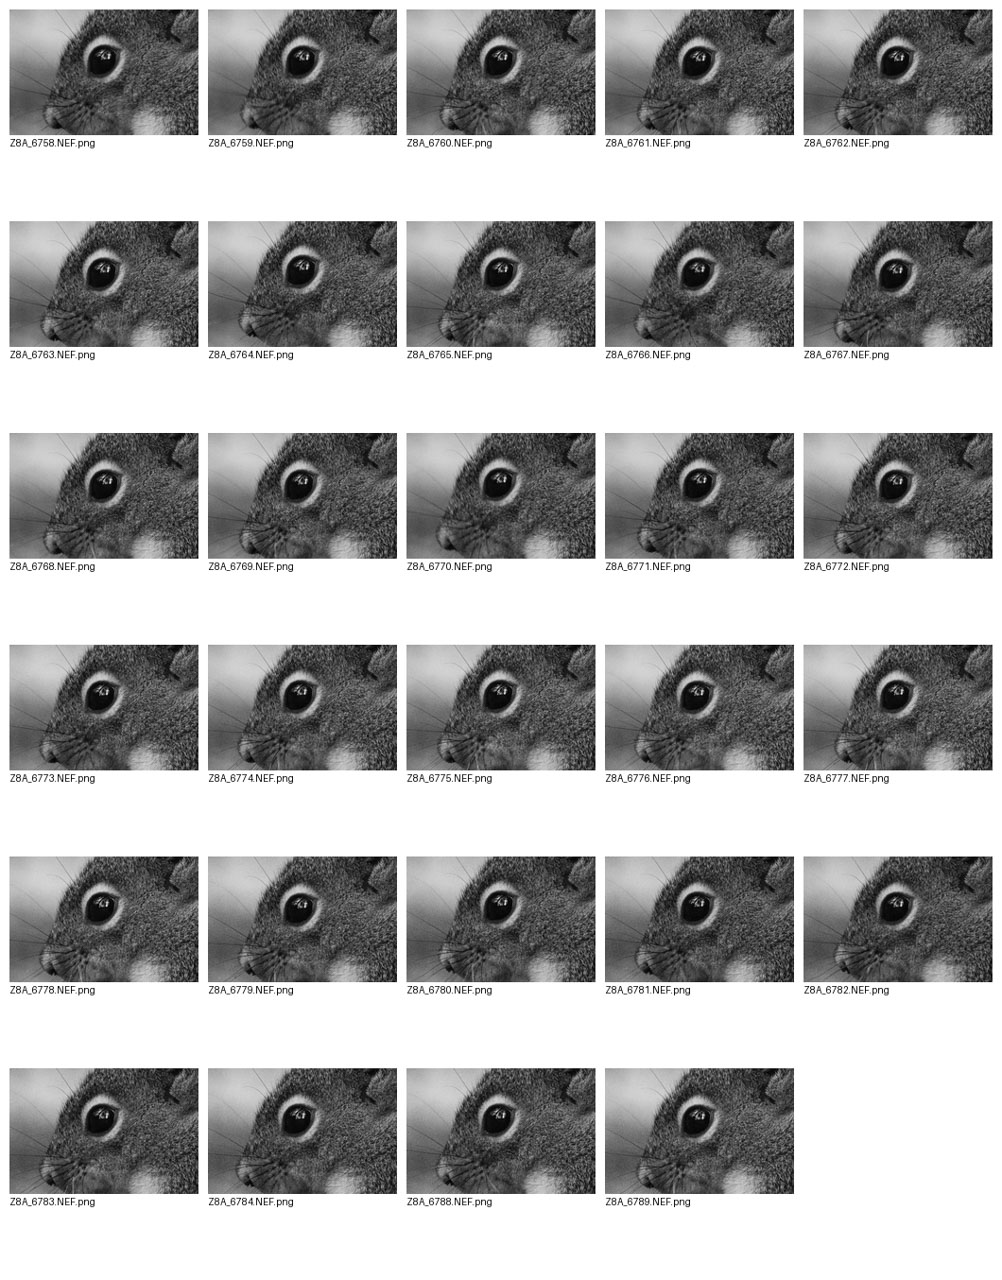
Below is the grid of automatically cropped previews. If the subject hasn’t moved within the frame, precise alignment is possible.
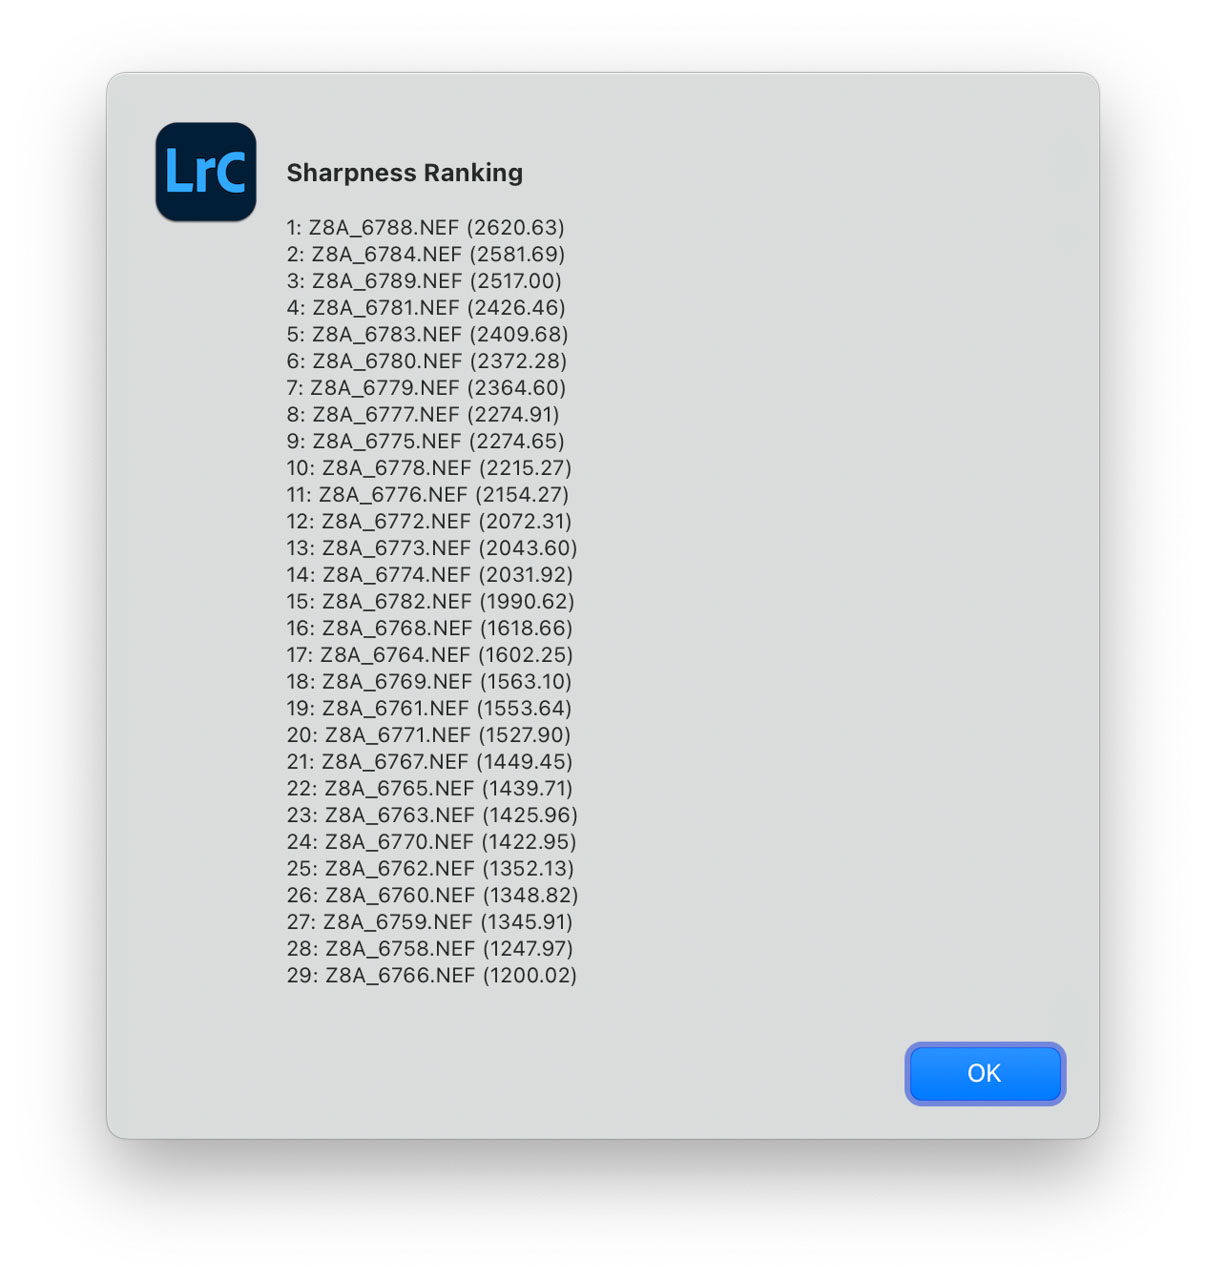
With a large number of images, there’s some wait time, but the ranking results pop up automatically. The top 5 are rated with Lightroom’s star rating system, from ★5 (sharpest) to ★1. The sharpness score shown in parentheses has no absolute meaning. A higher score simply means a sharper image.
All photos in this set were relatively sharp, making visual comparison hard, but here’s a spread of the lowest, mid, and top scores (★ here was added manually for sorting):
29th – Score 1200.02
21st – Score 1449.45
14th – Score 2031.92
1st – Score 2620.63
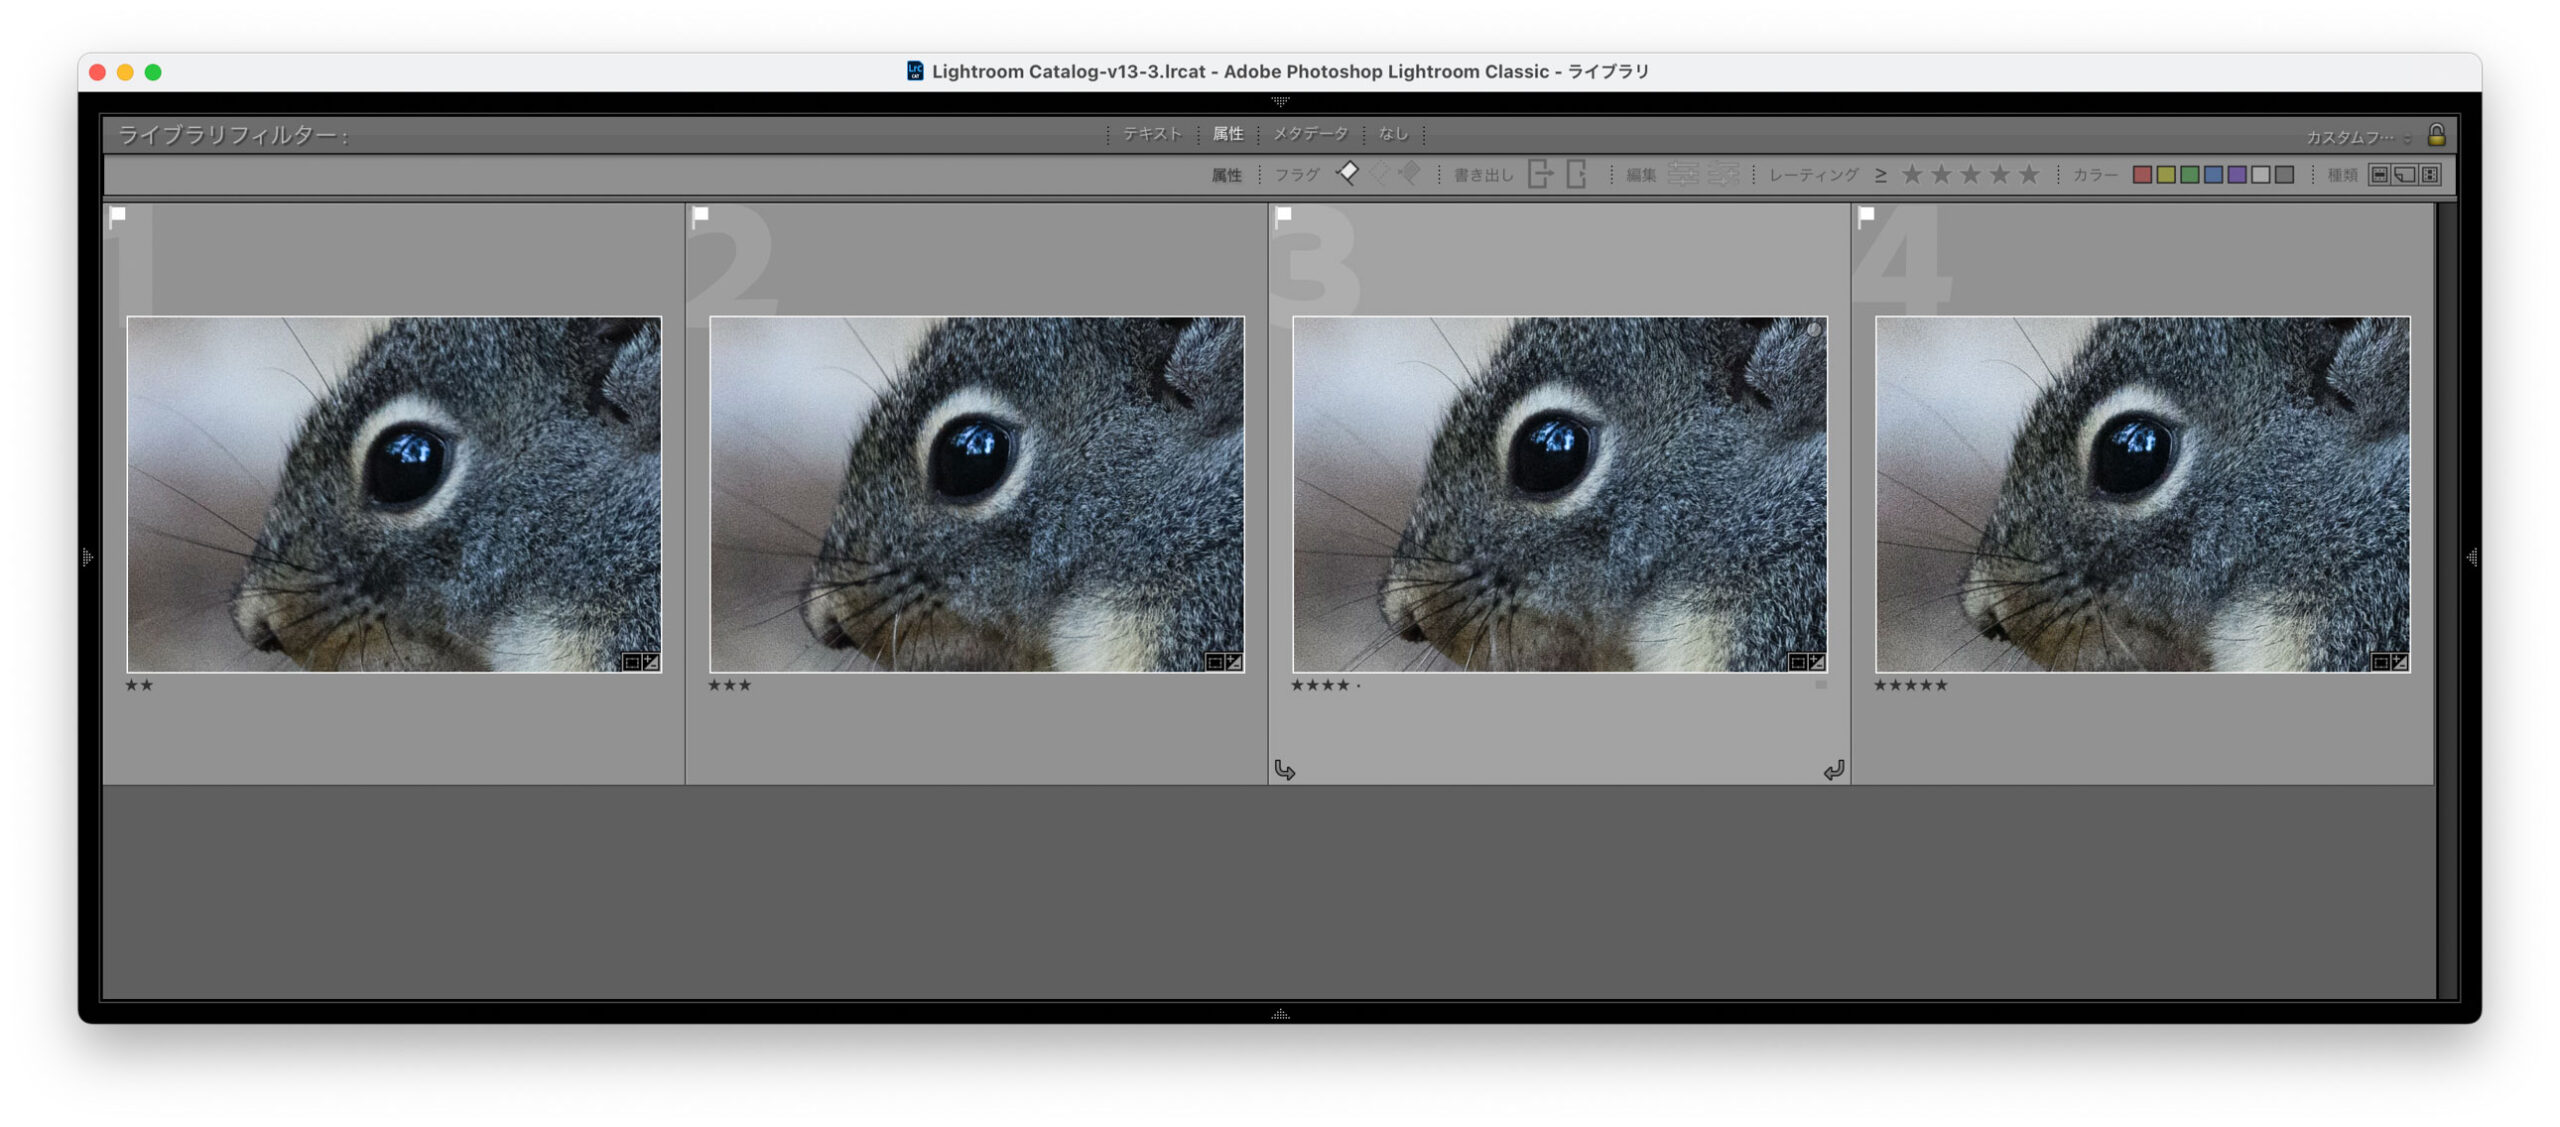
The lowest two were visibly less sharp. The top two were hard to distinguish visually, but having a score saves the effort of deciding.
■Conclusion
The total estimated development time using ChatGPT o4-mini-high was about 18 hours, consisting of two focused days and a few additional days of intermittent work.
- Basic concept validated and a minimally stable version completed in about 10 hours.
- An additional 8 hours or so were spent on feature enhancements and improving stability.
Being able to define a narrow evaluation area made the sharpness scoring align closely with visual expectations. I believe it’s already practical enough to use, and I hope it will greatly reduce the time I spend sorting photos. I haven’t tested it yet, but it should be very effective for handheld macro photography too.
Lastly, thank you to anyone who read this far, even though I mentioned that the plugin isn’t available. If you’re interested, you might enjoy trying to build your own. If there’s strong demand, I might consider distributing it, but please note that I’m neither a professional nor a hobbyist programmer, so I’m not familiar with standard practices. What form that might take is still undecided.