
Trying Generative Fill in Photoshop (beta)
There has been a lot of talk lately about generative AI, and since the beta version of Photoshop with “generative fill” is now available for my Adobe photo plan, I gave it a try. By the way, I am neither an AI expert nor an image processing professional, so this is just a playful report.
Generative Fill is Adobe’s take on the AI image generation based on verbal instructions that has become widely known with Midjourney, Stable Diffusion, and others, and makes it available as a feature of the Repair Brush. While the same feature allows for pinpoint image correction by specifying a selection, the major difference is the ability to freely add elements that were not present in the image.
Let’s get started.
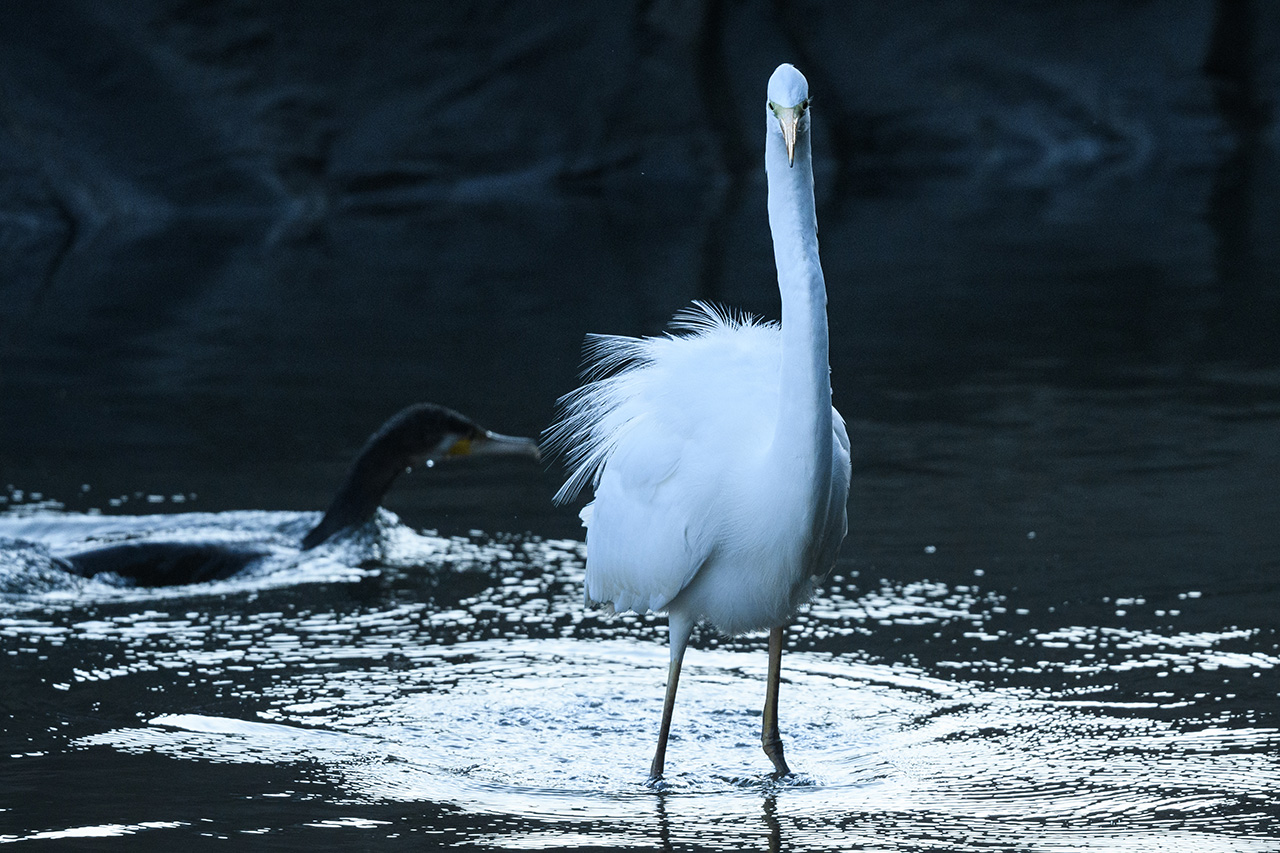
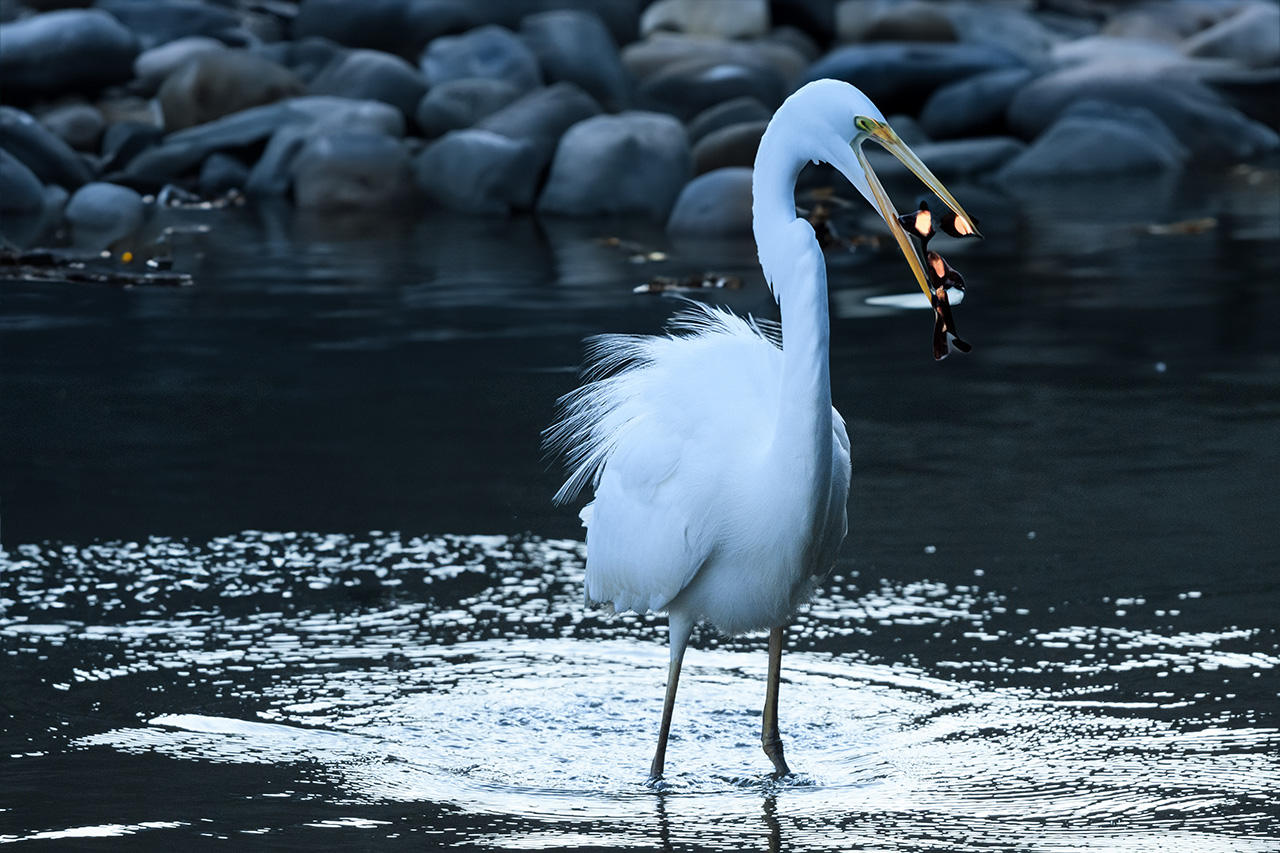
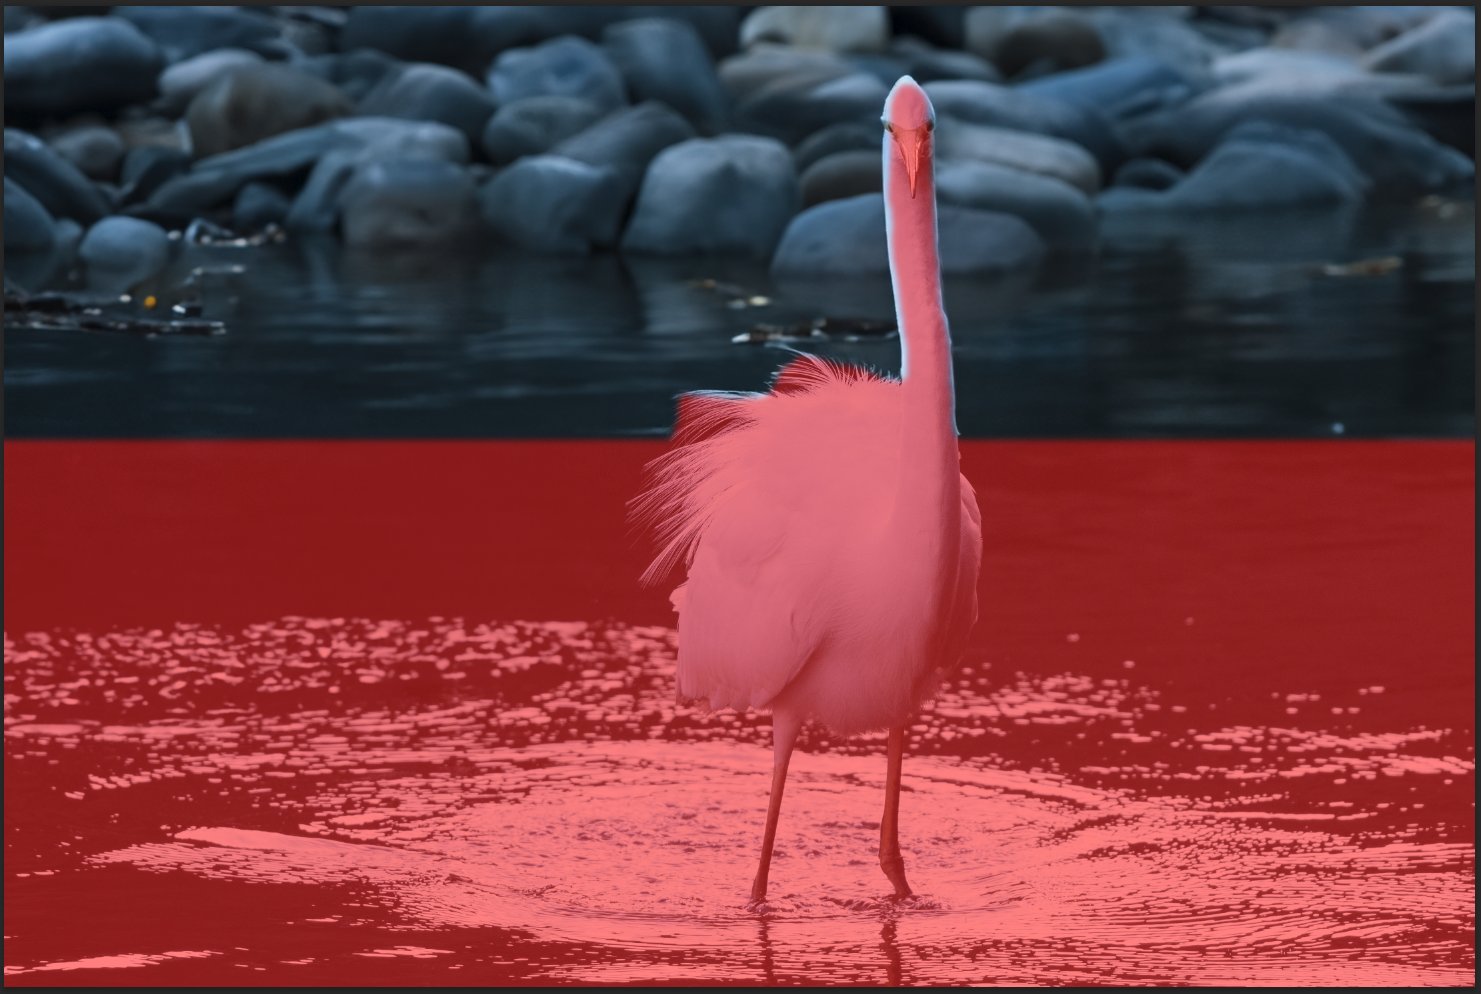
First, select the area around the cormorant. After creating the selection, a prompt for generative fill appears, so type in what you want to do.
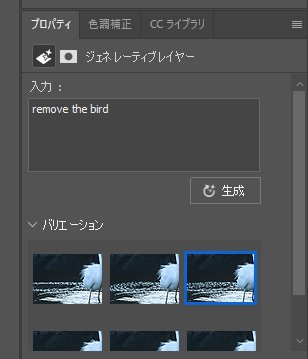
A quick flick of the “Generate” button completes the process in about 10 to 20 seconds.
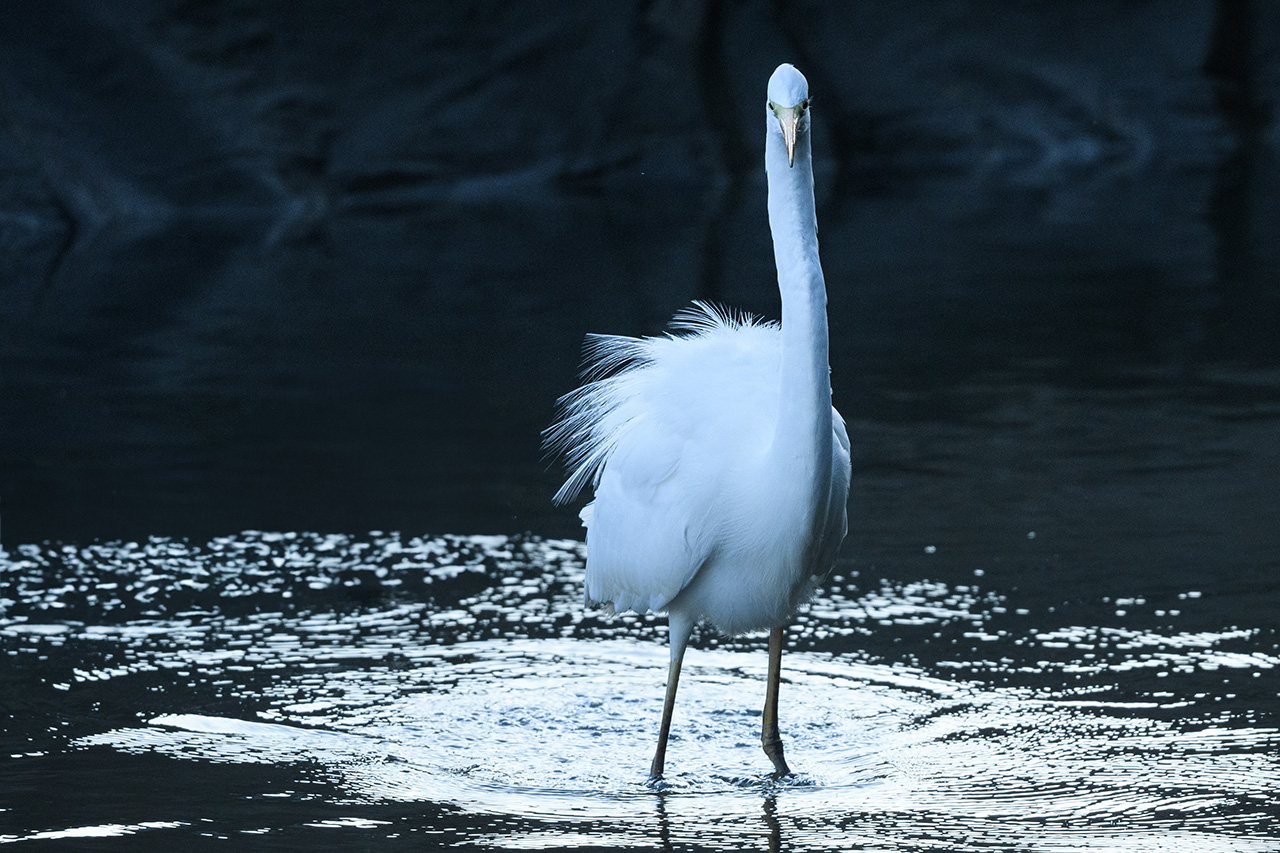
In this case, there are no other overlapping objects and the surrounding area is water surface, so the conventional restoration brush tool can be used, but it would be a pain if the area is large. Generative fill blends the reflections on the water surface as well as the blurriness with the entire photo in one shot, which is by far the fastest way to do it.
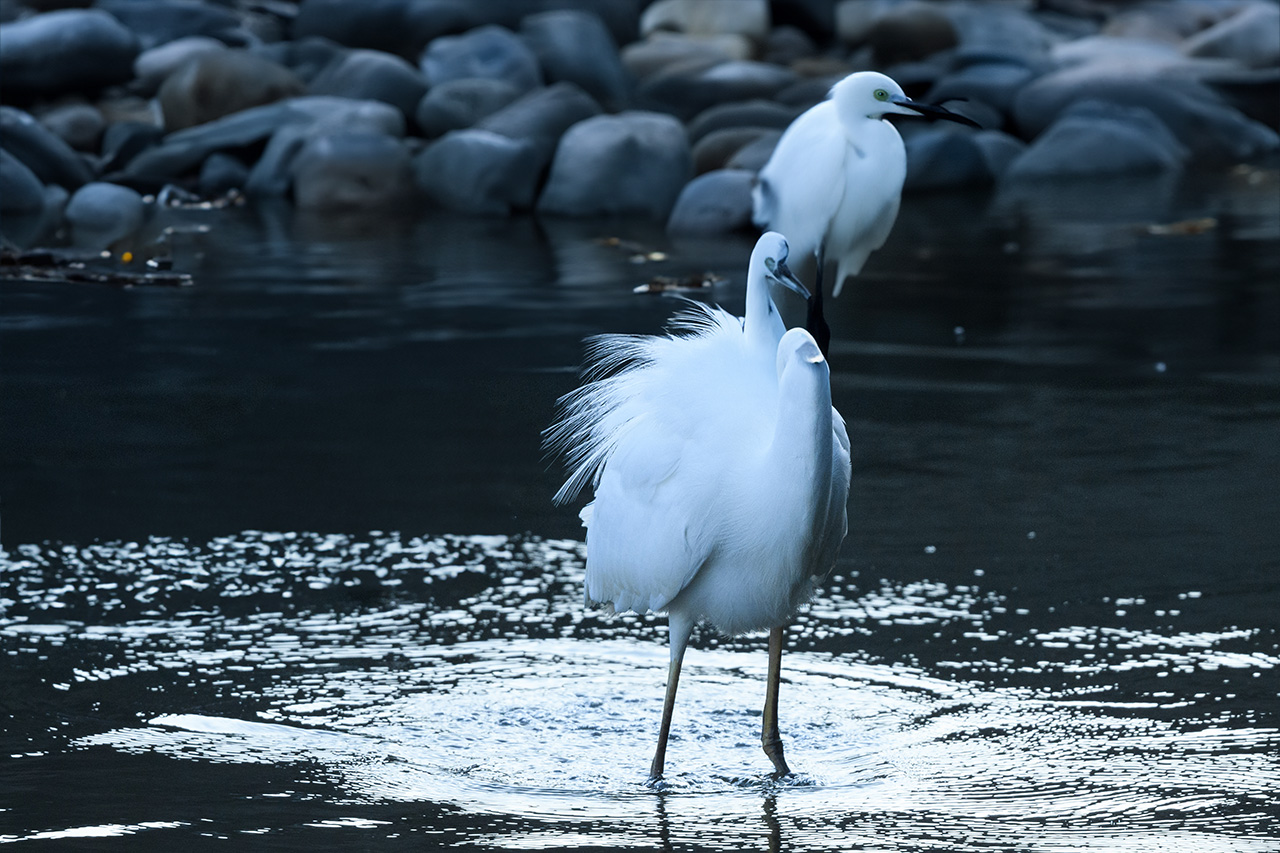
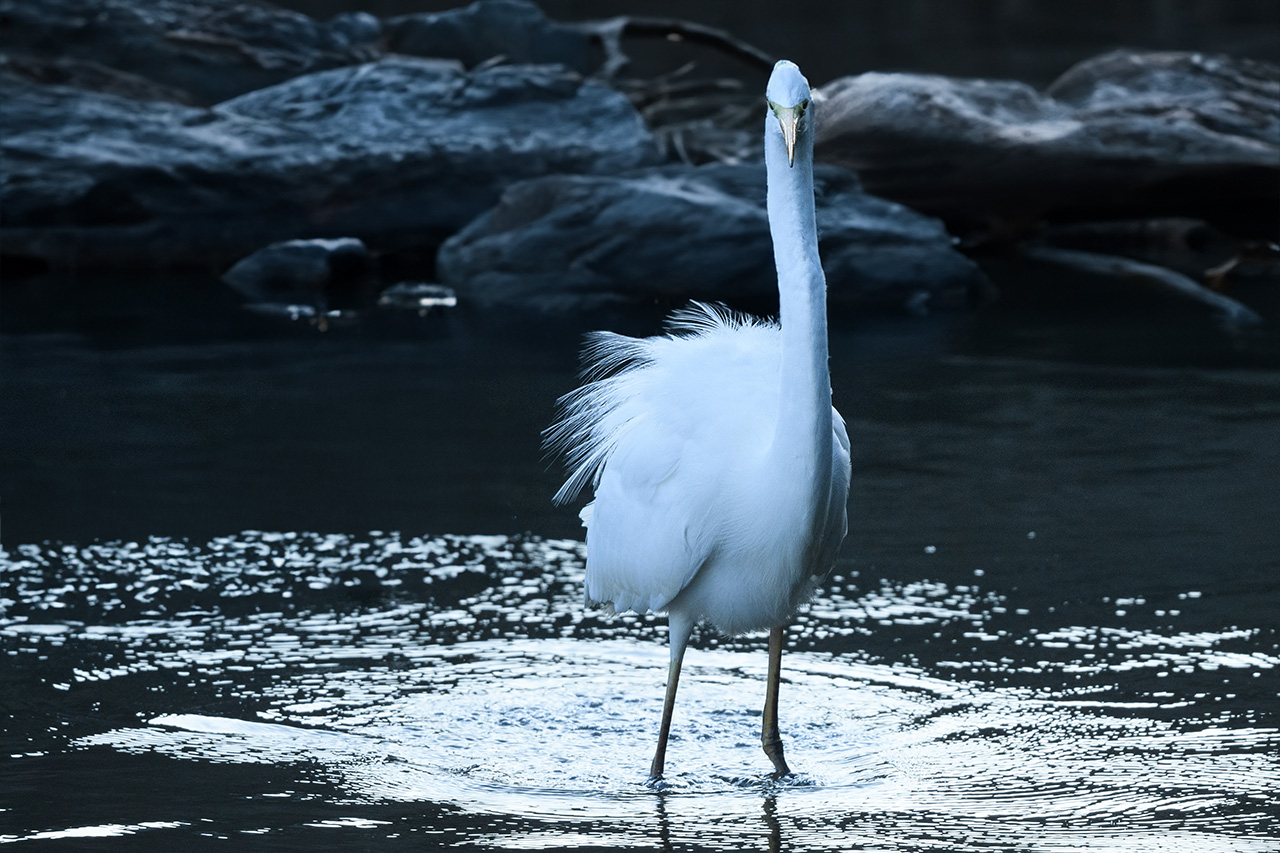
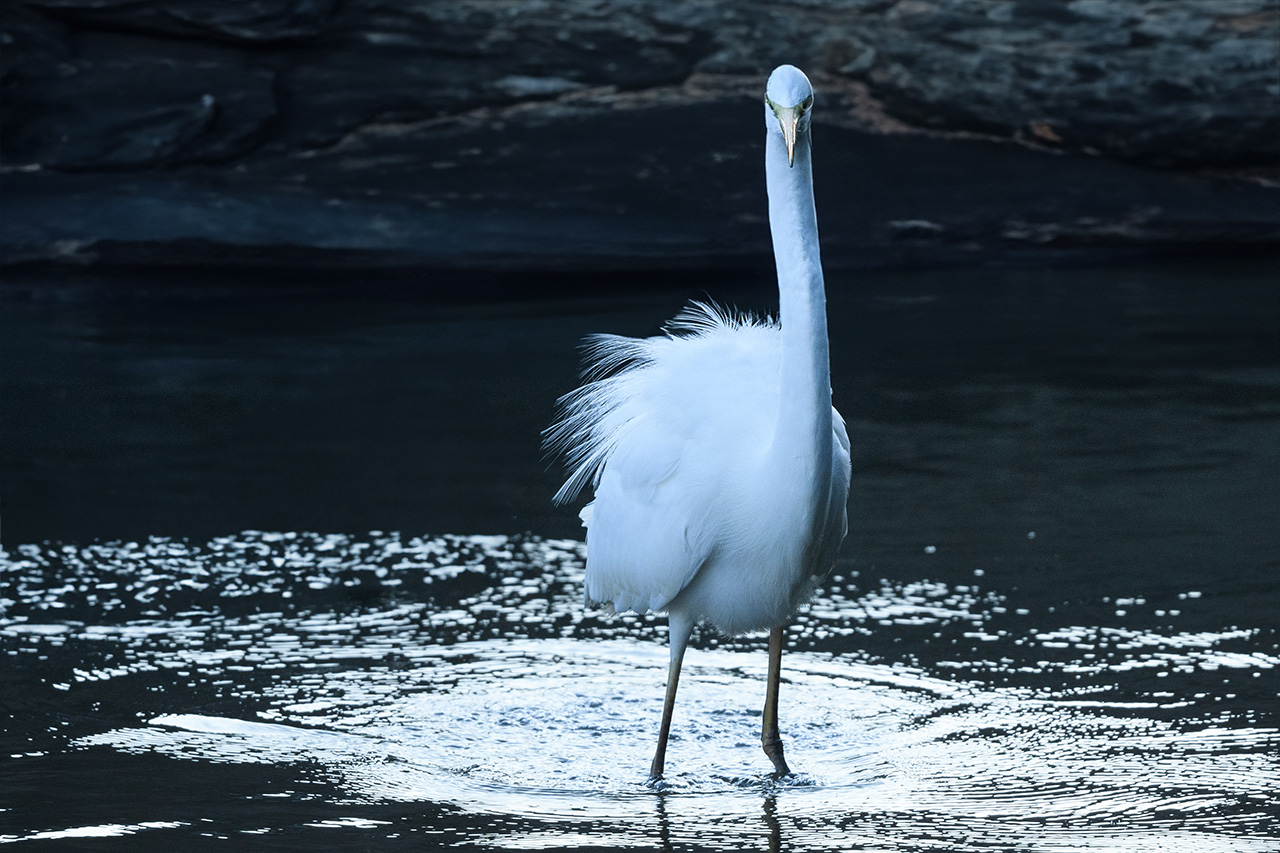
Next, change the bleak construction background to a natural scene. Select the top half of the background, except for the egret, and enter the following prompts.
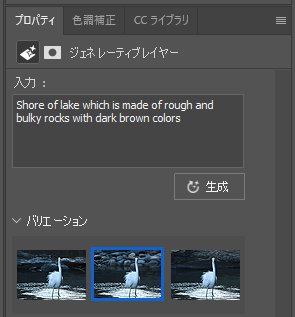
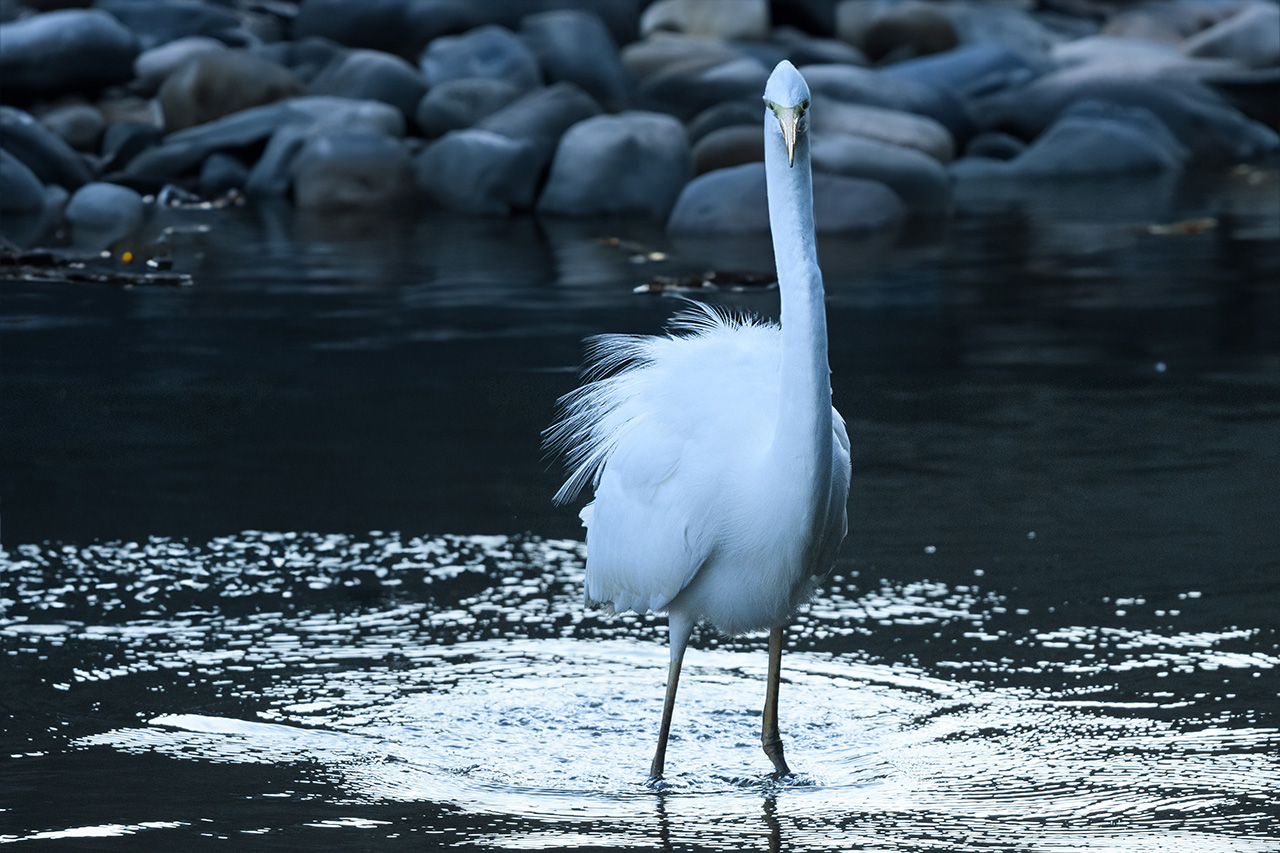
Incidentally, the following two pictures are different versions generated. One of the egret’s head is slightly deformed, but the result is not so bad.
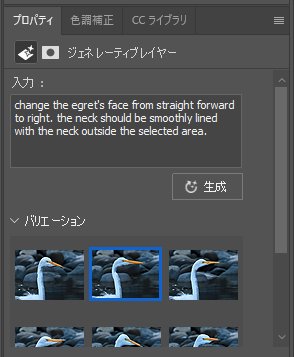
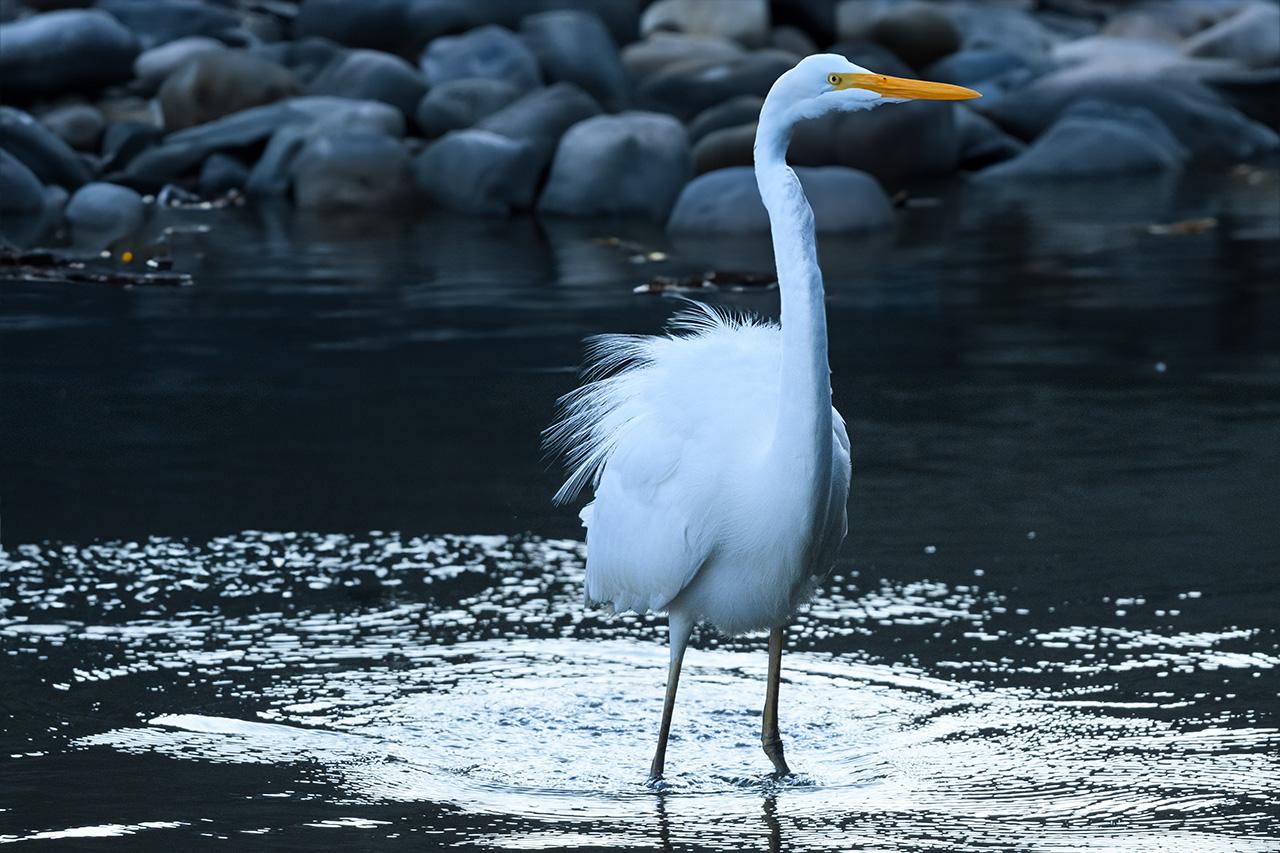
Next, let’s turn the front-facing face of the great egret to the side. I like the frontal face in this photo, but a side profile would be more common for bird photos.
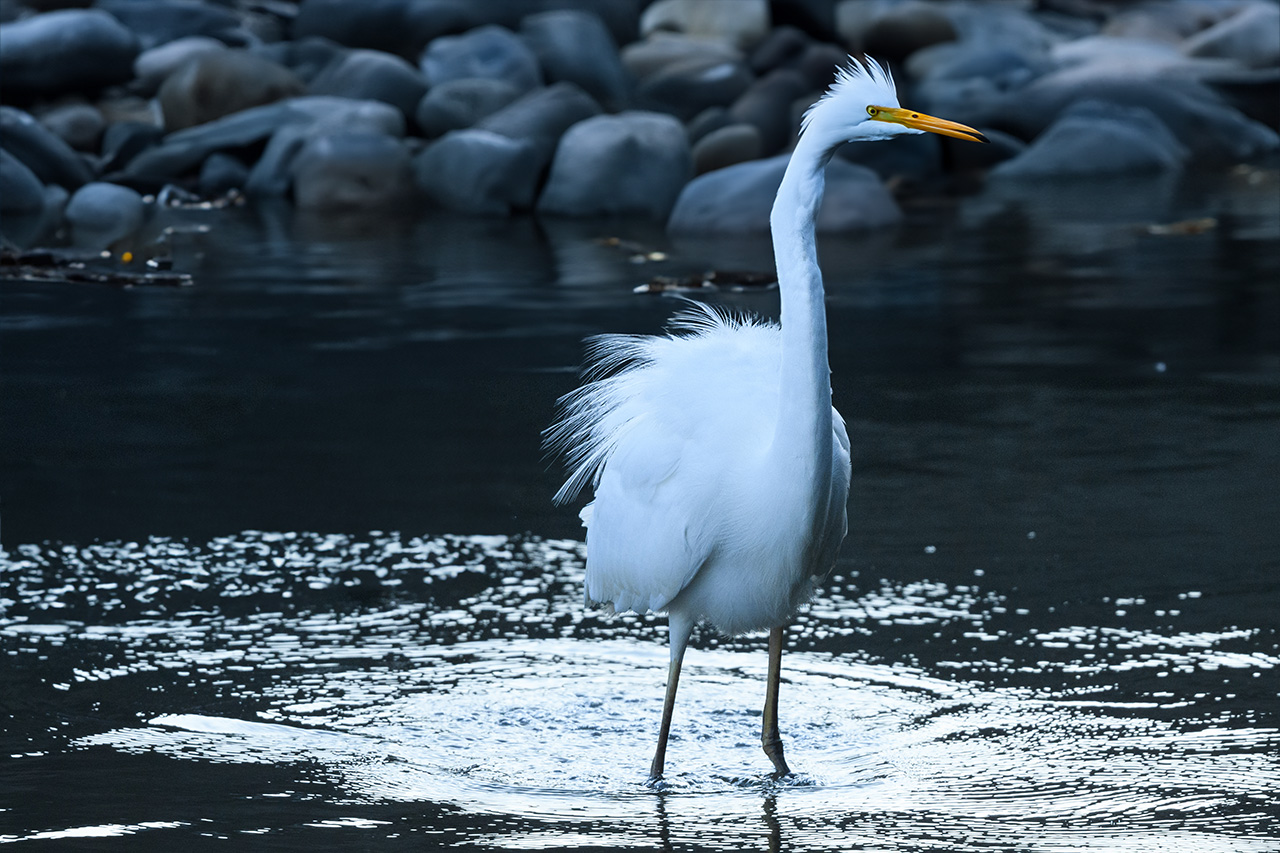
Therefore, I instructed it to modify the image to take into account areas outside the selection.
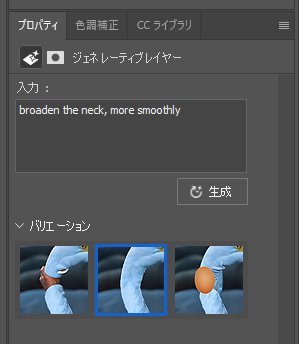
Pinpoint and select the curve of the throat to make it thicker.

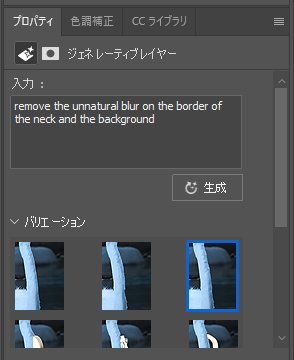
In fact, although it is difficult to see in the overall photo, there are areas that remain uncomfortable when viewed in detail. Due to the selection used to modify the background, an unnatural band can be seen at the border between the neck and the background. Let’s try to remove this.
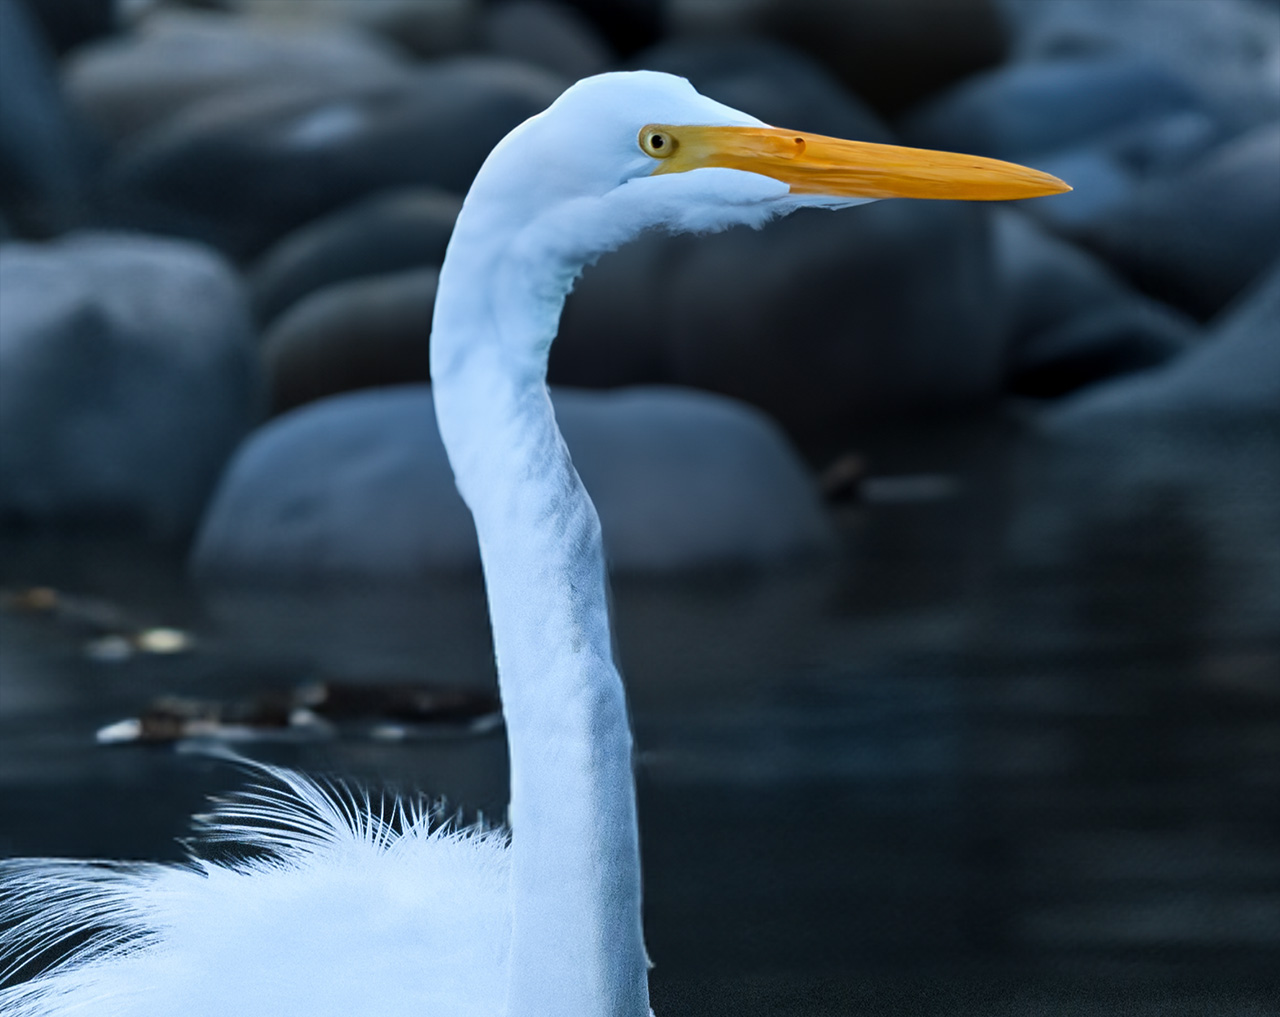
It became like this. The blurring of the borders has disappeared and the image has been cleaned up. The thickness of the neck has also changed slightly, but this would be acceptable if it were not compared with the original image.
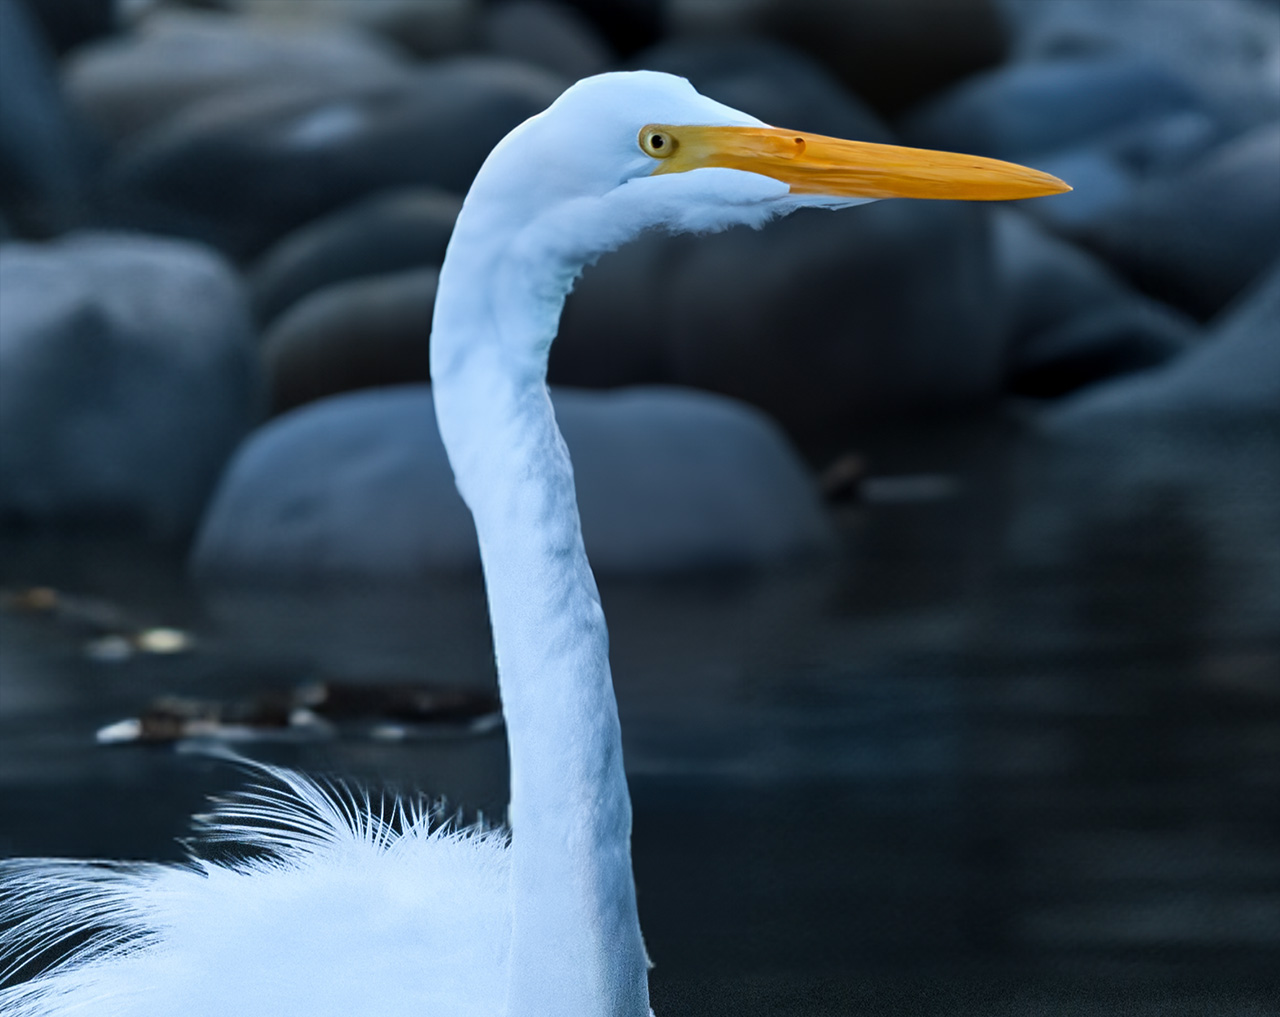
At least, this is the finished product. If I had to give more orders, I would say that the face of the great egret has a rather flat texture and lacks detail, the beak is highly saturated, and so on. Nevertheless, the quick look of the finished image is not terribly different from the original.
In reality, it takes some trial and error in the way the selection is made and the prompts are drawn, but I have no doubt that this will be further refined in the future.
The AI noise reduction in Lightroom is also extremely powerful, and I feel that the world has truly become a magical place. With this, social networking sites will be flooded with more and more images that look spectacular. I wonder what will happen when the saturation point is reached.

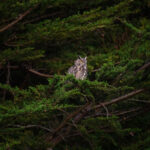
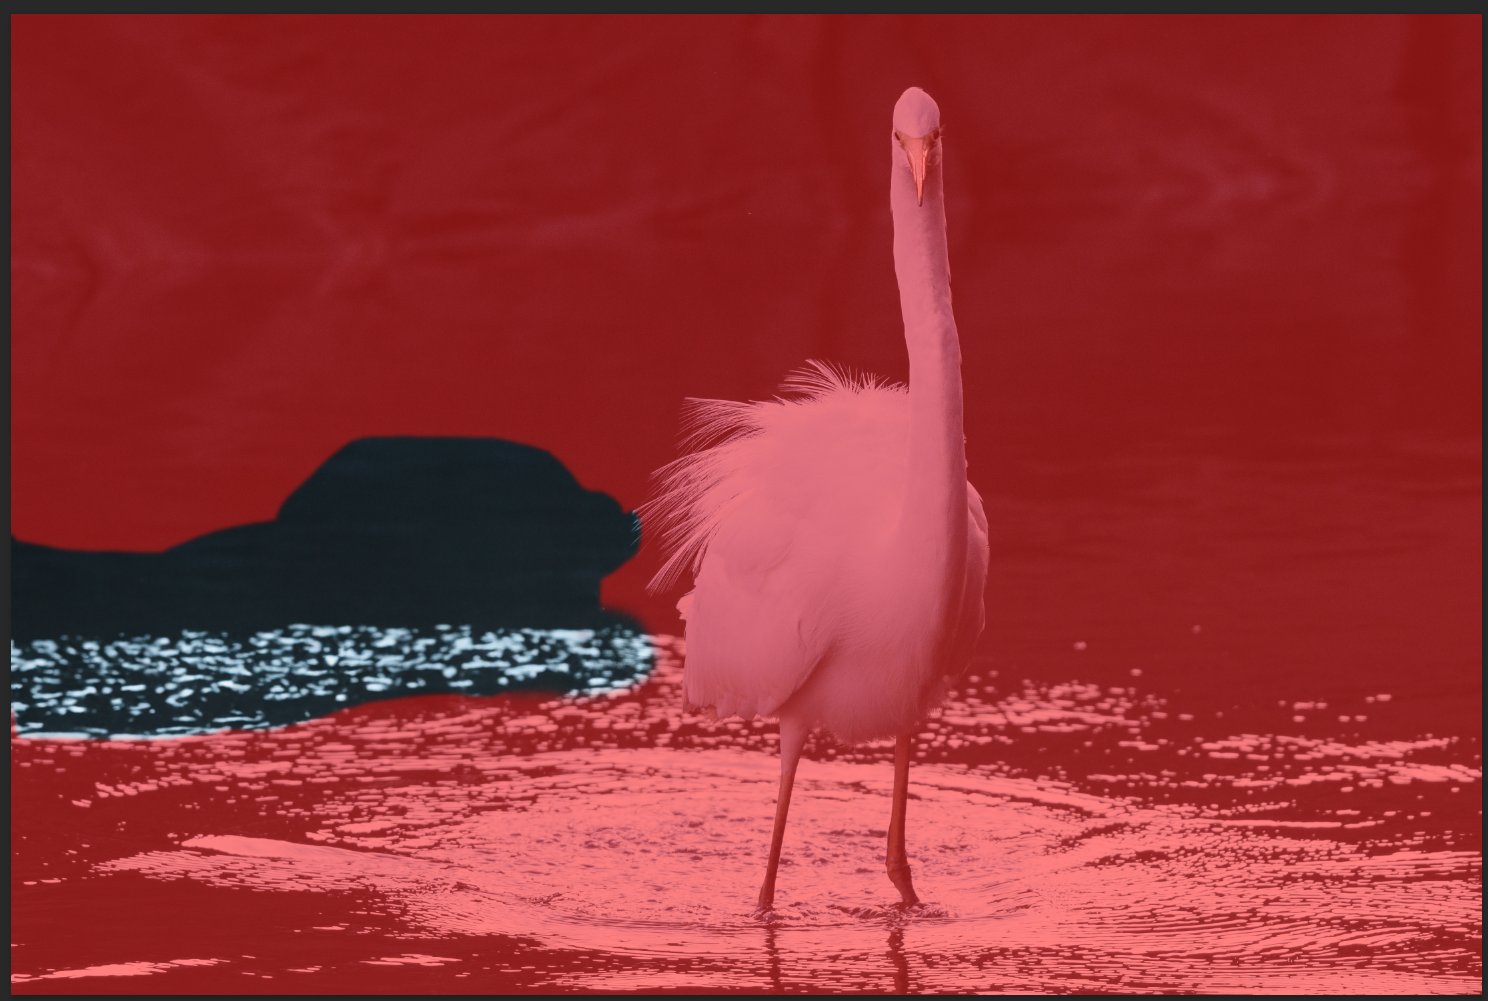
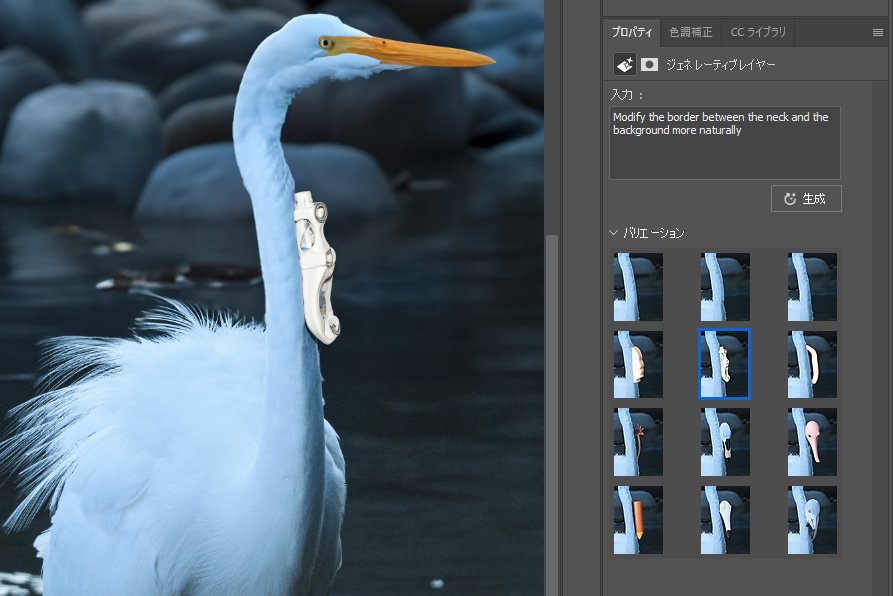
This is an example of a case in which I simply instructed the AI to “Modify the border between the neck and the background more naturally”. Something bone-like or a bird’s head popped out from the neck. Scary.
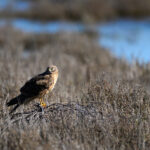
An example of trying to add luminance noise to the same level as the surrounding area in order to eliminate the flatness of the egret’s face. Even though I instructed the AI to “add luminance noise,” it may have interpreted “noise” as “randomness in the image (object)”. It became even more chaotic.